Tuesday, September 25, 2012

Room For Rent - Chirp Cheap! (Birdhouse)

This project came about when one of my co-workers and good friend, Sasha, bought her first house. Our department specifically are like family...some of us have been there for over 15 years and the new ones blend in like they have been there just as long. Needless to say...we wanted to offer her something special to celebrate her new adventure. We joked about getting her a birdhouse...well...guess what happened next?

Barbara, one of the family members, scouted the area for a artisan who makes and paints birdhouse. You see them everywhere when you have no intention of buying a birdhouse. Where were they now? Don't know! Shhhheeeessssshhhh! She finally found a very talented man who made birdhouses...he only had one though. BUT, it was ready to go. So, she set out to get it!


 Pretty nice huh? Kinda bland though. So, Barbara had another brilliant idea... :) (love you Barb...heehee)

Lucy will make it pretty! Yes, she will...

Anyone who knows Sasha (and I do...pretty well too) knows that Sasha likes a cozy home...one that is well put together and looks inviting and, oh yeah...it MUST have some red in it!

As always, when a project thrown at me, my brain goes into overdrive and can't focus on much else...that lunch hour was spent at the craft store where I bought some pressed wood moldings and a plain circle piece...and THIS IS WHAT HAPPENED THAT WEEK END!


One of the moldings looked like an S. which I used to personalize the house. Painted the moldings, roof and bottom part RED for some punch. The rest is a distressed white with a little brown and golden white.

SASHA'S NEST INN 

Sasha's Nest Inn was born....


The Side View

Two little signs hang from the side wall hanging from the moldings from a tiny chains. The signs made from over sized Popsicle sticks, ends broken off by hand and painted brown for a more rustic look. Holes were drilled in the moldings and signs to secure everything together.

Signs advertise ROOM FOR RENT followed by CHIRP CHEAP


The Other Side

I left the other side rather plain with just a molding to keep it company. You can see where I put the circle piece of pressed wood. The lettering is metal...giving the sign a cleaner and crisper appearance. I had fun with it.


The Roof

I found the roof a little plain so I added some branches to warm thing up a little. Which dodo wouldn't want to live here?


So Sasha! Happy Home...

From your Cookoos at work: Barbara, Debbie, Caroline, Eric, Janice, Julie, Sheryl and me too! We love you and we can't wait to have a Margarita party in your back yard....

xoxo


Friday, September 7, 2012

Wii Invite You to our Party!


I'm a little bummed out! I looked and looked in all my camera's memory cards to find the pictures of my daughter's 6th birthday party. Wii had a Wii party! Of course the invitation had Wii Wiiten all over it! But the very best part was the invitation itself! 


It's a Wiimote made of thick paper. I found a template on the net http://anthony.liekens.net/index.php/Misc/PaperMockupOfWiiRemote and ended up making about ten of these. They looked amazing and REAL... I added a sting taped to the inside and made it come out through a corner. Laminated the Wii invite you invitation (business card size), punch a hole at the corner of it and tied it up to the string. 

Wii had so much fun!

One of the items in the loot bag was a Wiimote candy dispenser (dollar store)!


Wednesday, September 5, 2012

AHOY! Pirate Party and the REALLY COOL cake that had the... (read and discover why the cake was soooo cooool)


This was most definitely the theme party that sparked the flame to raise the bar for an unforgettable party higher from year to year! Pretty typical and easy. Message in a bottle inside for the invitations. Stressed looking map with directions to the house etc. Easy. We had a scavenger hunt that led to a huge treasure conveniently split into equal parts in satin bags for each pirate... Some of the children were younger and didn't know how to read yet so the hints leading to the treasure were all pictures and drawings...THEY LOVED IT!


 Dressing the part definitely a mood setter. 
What's even more fun is dressing up your 
guests too...as each one arrives. You see
the set changing and taking form before
you. The atmosphere creeps in slowly but
surely. Before you realize it ...you've got
a crew. The only thing missing is Depp.
(sigh).  


My "something" to write about for this party is
the brilliant idea I got for the cake. I decided to make the cake that year. Except....I had never actually baked a "theme" cake before. My expertise never exceeded the Duncan Hines kind of cake in a round 8" pan. But yes! I was determined.

Overall it didn't turn out so badly...but there was something really really COOL about this cake. Can you figure it out by looking at it?


Do you see it? X marks the spot right?
That's where I buried the treasure! 
It was a crystal-like angel that glittered
like gold! It was in a box and wrapped
in plastic. No worries...I didn't bake it!
F.Y.I. you bury it after the cake is baked!
Oh la la....My daughter is the only kid I 
know of that got to dig out a treasure from
her birthday cake before serving it! 
How COOL is that? But I was so busy
making sure that it didn't get everywhere
that I set the camera down...no pics! Urh!


Gold candles ...nice...


I know what you're all thinking...what about the 
loot bags? That was the treasure they found.
Remember the silk bags filled with goodies?

Tuesday, September 4, 2012

GREETING CARD - Brown Bagging it!


This original keepsake card's foundation is a brown paper lunch bag! Yep...that's right! Simply fold the bag in half, glue or "fancy" sew the inside middle part and it becomes a little album!

I've glued some scrapbook paper on the cover and embellished with tags, labels and transfer lettering all found at ...the dollar store! (Who would have guessed it?
)


 Here's the opened view of the card. Notice the bottom flap of the bag on the left page? Make use of that space by inserting a keepsake under the flap and have it stick out a little for a dimensional feel.  Spruce it up as you please. This particular card was made for a dear friend battling with cancer. Inside were inspirational quotes and words from her friends.


(Left side view while open)

Pictures instead of words are a nice option as well.


(Right side view while open)                                         

This side has a nice little pocket from the top opening
of the bag. Insert some pictures or some greetings


I gathered a little compilation of proverbs and wishes. Attached them into a booklet and placed it in the pocket.


This card was filled with laughter, memories, and love.

Monday, September 3, 2012

Homemade Halloween Costume! TWEET THIS!

Already September...and Halloween is right around the corner. I made this costume for my daughter when she was in Kindergarten. Everyone had to wear a homemade costume that year and this "family of birds in a nest" earned her the first prize! I could not trace the pictures I took from her back then but my son was willing to model it for a few pictures. It was in much better shape 5 years ago...but still...it will give you a good idea...

 This costume will be the cheapest costume you've ever made...but is will be the envy of all Angry Bird lovers! (Which is what Victor thought it was originally). I had some of the necessary items on hand already, like a red sweater, two red socks an old hat. If you don't, you can easily find these at a thrift store.

 What you will need:

- red sweater
- pair of red socks 
- feathers (dollar store)
- old hat or cap (a cap is even better as you can glue the orange cardboard directly on the visor)
-  orange cardboard (dollar store)
- raffia (dollar store)
- hula skirt (dollar store - kid size)
- craft doll eyes (2 big eyes and 4 medium size)
- feather mardi gras style mask
- hot glue gun and glue

feeding time?


 Although I pretty much glued everything together you can just as well sew parts of the costume for more durability. I certainly should have sewn the cardboard beak to the hat...and the raffia could have been braided neatly in several layers and sewn to the hula skirt (the foundation of the nest.)
 Here's the "bird's eye view"

Happy Halloween!


Don't be a dodo bird and Tweet this to the Moms in your life :}>

Sunday, September 2, 2012

The Detective Party

The Invitations

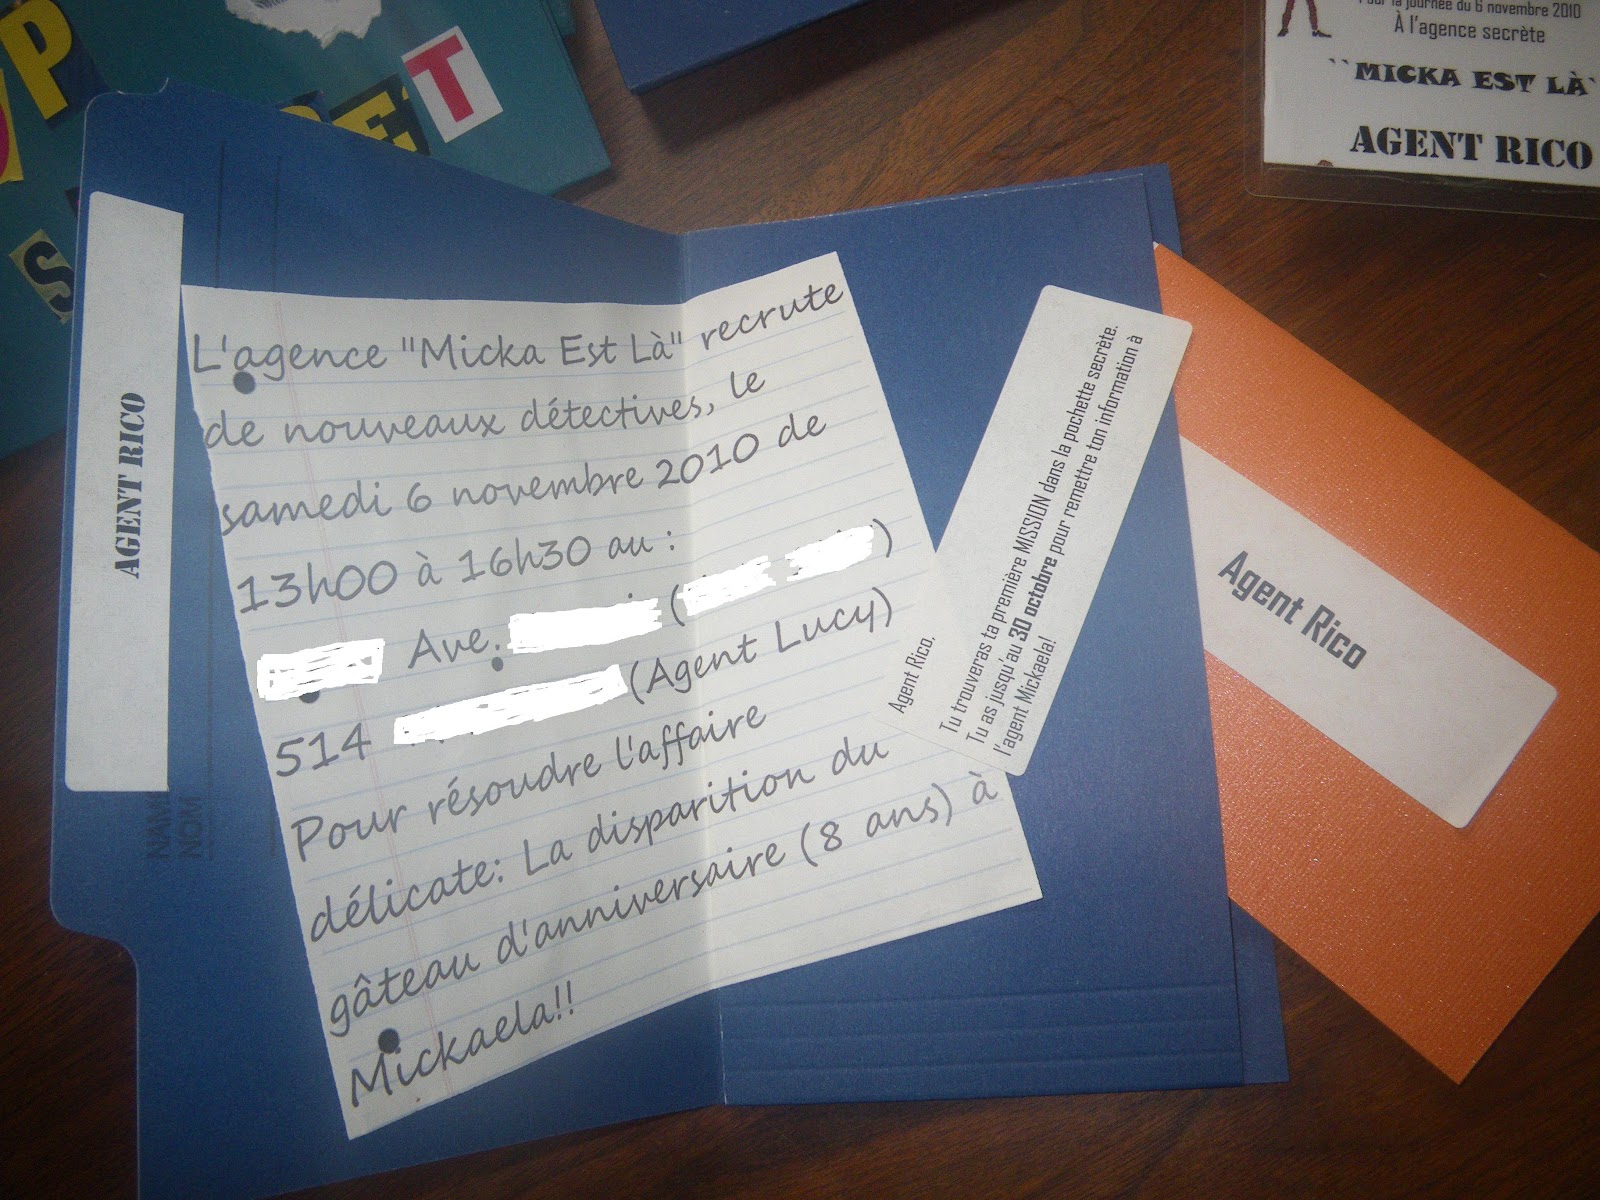
 I purchased some colorful 81/2" x 11" file folders and cut off approx. 4" off the width to create a mini file folder. My daughter helped me find letters in magazines to paste TOP SECRET on each invitation. I've personalized each invite with a label (this one was addressed to Agent Rico). The fingerprint photocopy raises intrigue  in the the young detective's mind!  


 With the extra cut scraps of the file folder I created a secret pocket to the file folder for the detective to discover (content of secret pocket in picture below). The invitation recruits detectives to solve the mystery of the birthday girl's missing cake! There's also a note indicating that their first mission is inside the secret pocket.  had also included


 The first mission was to fill out the response card. Each detective had the check the appropriate boxes and return it to Agent Mickaela.

- Yes, I will be attending "child's name"' b-day party on "date"
- No, I will not be able to participate in this mission
- Signature of parent X_____________________
- Returning this assignment to Agent Mickaela
- Will complete this first assignment by "date"

 Every Top Secret folder had the detective's own personalized name tag (a pass to enter the crime scene) laminated (dollar store) with a string to wear their identification cards around their necks.
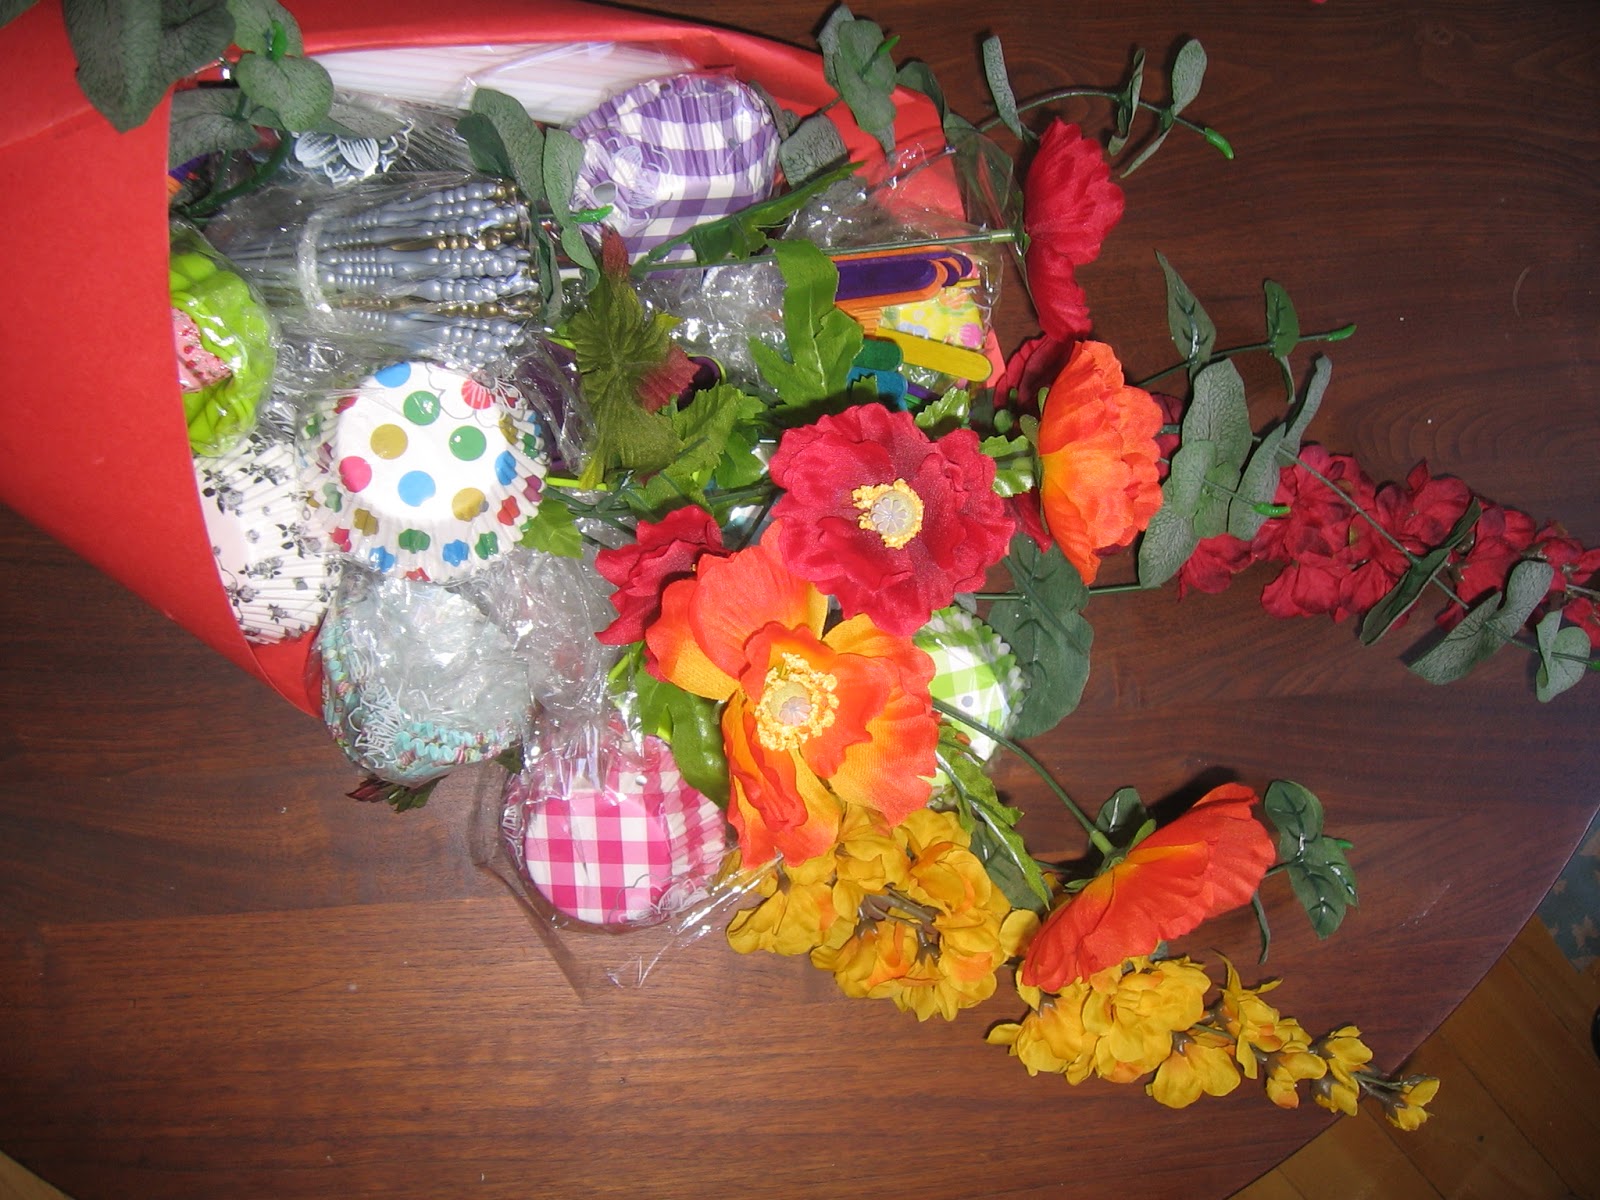
 The Loot Bags

PAPER BAGS! Labels...make it look cool and shady... Each detective was handed their detective gear as they arrived at the crime scene.
 The dollar store is amazing for loot bags. I found a whole detective kit in the toy section for $2.00 ea. It included a police badge, secret walkie-talkie head set, cell phone, compass. It also came with gun which I threw out...no need for guns. I added a detective hat, note pad, a pencil (all dollar store), and a secret code watch (which I made) and little extras.

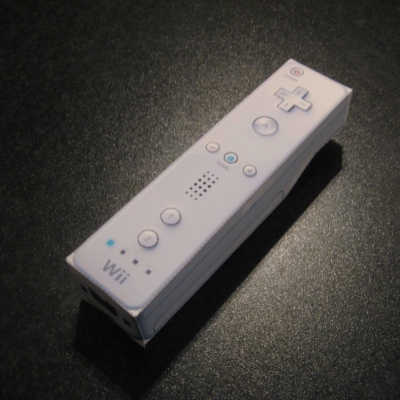
 The Secret Code Watch

What you will need:

- Velcro (dollar store)
- Match boxes (dollar store)
- Computer


I found the picture of a cool looking watch on the internet and printed it in color. Then, cut to size and pasted the watch picture on the now empty match box. Made up a secret code with symbols and printed it small enough to fit inside the empty match box. Cut the velcro to wrist size and slip around bottom of outer match box. There you go...a secret watch! How cool is that?

The secret code watch was used at the very end of the mission. Each detective was give a certificate of achievement which was written in code. Each was personalized in code (make sure you write the initials of the detective somewhere so that each get the one addressed to them). The code said something along the lines of "Agent Rico, Thank you for helping solve the mystery of the missing birthday cake. Good work!"

Preparations

 This party requires A LOT of preparations but I assure you it is worth it! You will need some actors so grab your friends and family and have a little fun with it. I found my suspects on the internet. Found pictures of some really interesting and bizarre people and printed out 8 different suspects. I assigned parts to family, friends and even parents of guests at the party. I wrote a small description of each suspect which I gave to the "actors" ahead of time...THEY KNEW ONLY WHAT WAS ESSENTIAL to know about their character. They knew what they had to answer to the questions to their interrogation. Each suspect had their interrogation one by one. The questions were ones that I had prepared and pulled out of a detective hat by each of the agents. The agents had to find out WHO (ate the cake), WHERE (which room of the house), WITH WHAT (the drink they had with it) and HOW (with what utensil).


The Notebook


 Seeing that these agents had just started Grade 1 and 2 their handy detective notebook was prepared in advance for them. On the first page was a printed list of all the suspects WHO. They crossed out suspects names by process of elimination...the last name left would be their culprit. The second page was a list of HOW - with hands/with fork/with spoon. The third page had a list of WITH WHAT - milk/juice/water. The forth page had a list of WHERE - kitchen/living room/game room.


 The suspects all had funny names with play on words. Mine were all in french. The not so pretty suspect in the picture above was "Paulette Pantoute" which would mean "not ugly at all". We had "Gilles Gout" with translated means "I feel like it" ...each had a unique comical name.

The Agents

The guests took their roles so seriously that they quickly forgot they were playing a game. Once we found the guilty party and all the make-up was off the suspect who played "the guilty" was asked by one of the kids "but, why DID you take the cake...that was really mean!" She was a trooper though and played along...she explained to the agent (again) that it just looked soooo goood and afterall, she had REPLACED the cake!


If you would like more information regarding this party don't hesitate to comment below and leave me your e-mail address. I'm sure I can dig up the written scenario of the mystery.

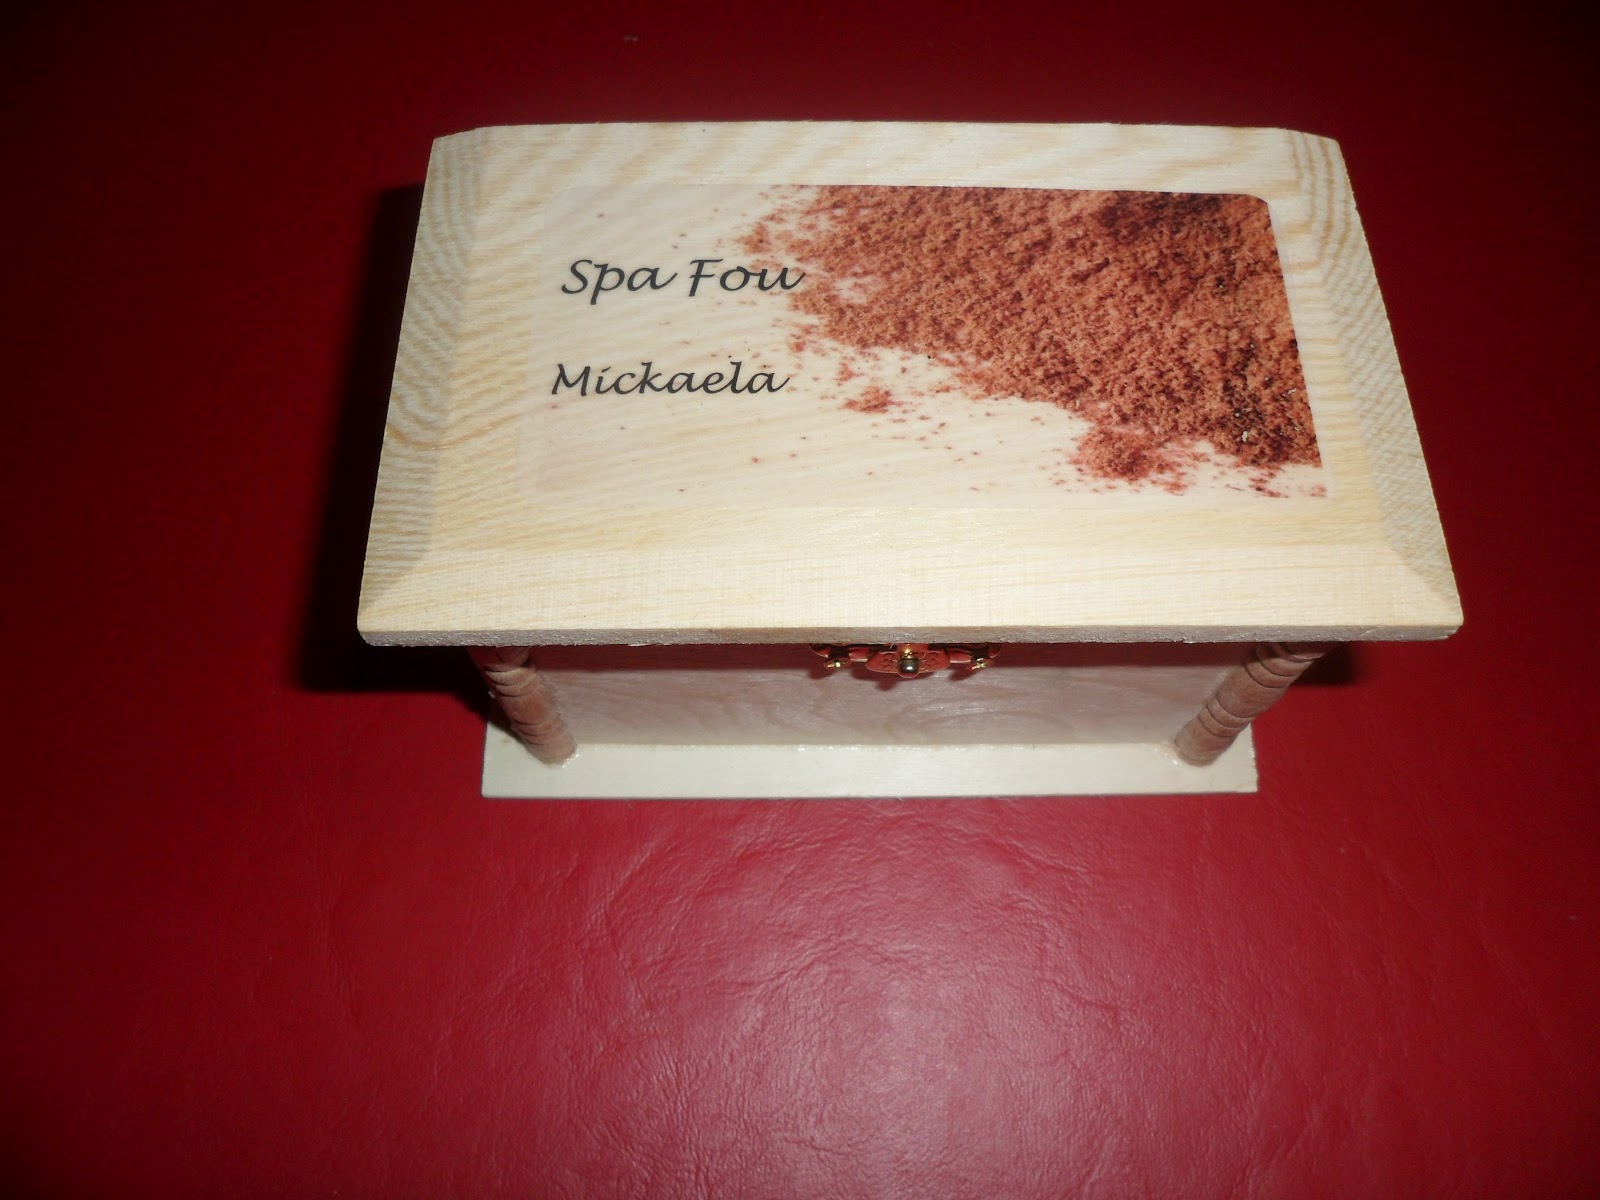
We had a wonderful time...and the agent boys were disappointed the following year as we had the SPA PARTY...girls only!

School and Day Camp Projects

Costume for Candy Land Day

If your kids are like mine they give you little advance warning on what activities are coming up at school and day camp that will need your participation. This year my daughter, 9, decided that unlike all the other years of camp she wanted to participate in some of the costume days at day camp. This is what I came up with on very short notice for Candy Land day.


With some pillow stuffing and food dye I was able to create a cotton candy hat for her. It would have been best if I could have let the stuffing dry over night after dying it pink but because I had to head to work the next morning I didn't. Had it been completely dry before hot gluing it on the cap I could have made it look smoother...less lumpy. I also added a rolled up scrapbook 12" x 12" sheet to create the cardboard stick.


What you will need:

-  pillow stuffing

-  old cap

- red food dye

- 12" x 12" scrapbook sheet

- hot glue gun/stick

- sweet girl

Bake Sales

Your kids will enjoy taking something different to the school back sale...think about how good they feel when every other kid wants to buy THEIR treats!

Have you ever seen these fun and easy to make burger cupcakes?


Burger cupcakes


I found the recipe for this on another website http://www.bakerella.com/fast-food-fun/

I love this site...so many great ideas....

Saturday, September 1, 2012

Personalized Gift Bouquets (Fleurs Délices)

Anyone who has ever bought a gift for that one person who has everything should know about this. This idea came about a few Christmas' ago...for a gift exchange! The first thing I had to do was figure out what this person liked and turn whatever that was into a worthwhile gift. This is what came of it:

Link to youtube video on how to make the bouquet (in french only...but no words are really needed) : 
How to - Personalized Bouquet


The beauty products bouquet


The baking supplies bouquet

Bachelorette bouquet

Filled with naughty things
Nail polish, jewelery bouquet


The Artist Bouquet

You can do this with almost any product the receiver of the gift likes...how can you go wrong?

SPA PARTY

The Invitations

Simple, pure and pretty. Bottled water...what a refreshing invitation! The bottle you choose needs to be without ridges with a label that will come off easily.
I named my spa "SPA FOU". Another of my play on words which sounds like a slang french Canadian way of saying "Ce n'est pas fou". In English "That's not Crazy". Of course, you can come up with your own spa name.
Type out your invitation information on plain white printer paper with desired font as paste with glue stick print facing inside. Reading the invitation through the water is almost magical....and peaceful!
With scrap-booking sheets of your choice decorate the bottle to give it a feminine touch. Add a name tag, again personalizing your invitation is truly appreciated by your guests, and ribbon.

The Loot Bags

Wooden boxes found at the dollar store filled with sleeping mask (dollar store), manicure set, nail polish (a mixture of colors), crackle finish bottle as well to spruce things up. This loot box was given to each guest at the beginning of the party as each girl used her own kit throughout her spa experience.


The waiting area - Fountain, gossip magazines, books.

 Turning your Living Room into a SPA

  The main thing to keep in mind is to use furniture and items that you already have in your home or borrow from a friend. Work with the space that you have.
 What's a spa without candles, soothing images and new age music? Create the mood...
I didn't want firemen crashing the party (at least not for any alarming reason) so I used flameless tea lights...guess where I bought them? Uh, yeah, dollar store!
Ah...how relaxing is this?! Perfect party ...everyone will be sleeping half an hour into the party! hee hee


The hot paraffin wax station

Spa Treatment Stations

 The one thing you will need to  pull off this party is a great entourage! Your friends play a major role in the success of the Spa Party as they will be your staff. Each will be assigned a station to work at. I thought I would be at a station myself but found it more efficient to go from station to station to ensure that everyone had what they needed...also to take pictures of the event. A picture montage was given to each guest as a thank you by the following week.


The foot massage station


Followed by the foot lotion station
To total relaxation mode (one of these girls fell asleep ;) )
To the final station - the manicure
 The girls got a little free for all time after the manicure...some swam with dolphins and others watched their faces turn orange ;)


Kicking off our heels...and smacking them?- A Pinata!

A Pinata shaped like a shoe

 Alas...CAKE!


This cake was made by my friend Caroline Desmarais whom you can find right here: Sweet Cake Caroline

 Next party...Mad Science!